


Roll for Sandwich: Where Dice Decide Your Next Bite
Packed with recipes, humor, and endless flavor possibilities, it’s the perfect pick for foodies, gamers, and anyone who loves a fun challenge in the kitchen. Ready to roll the dice on dinner?
Skip to product information
-
 Media gallery
-
 Media gallery
-
 Media gallery
-
 Media gallery
-
 Media gallery


Sku:
05416
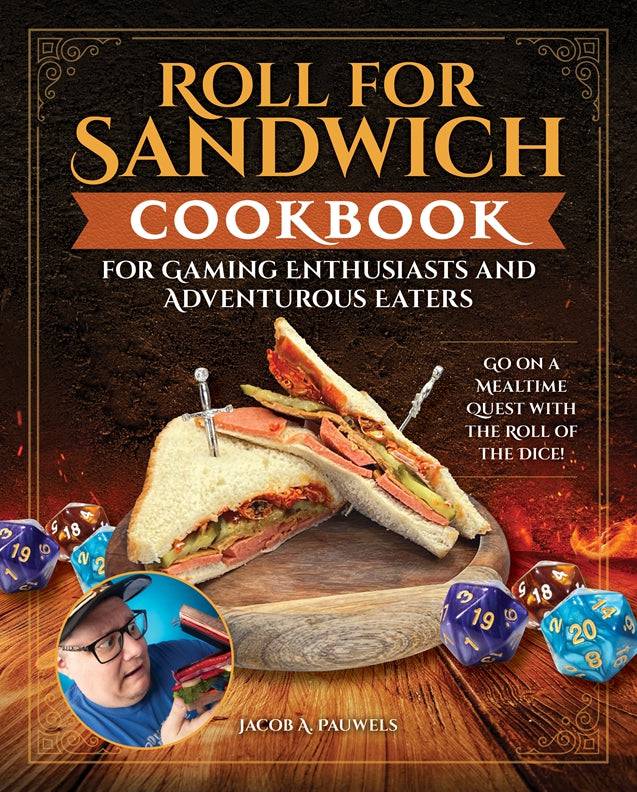
Roll for Sandwich® Cookbook for Gaming Enthusiasts and Adventurous Eaters
Jacob Pauwels
- Regular price
- $24.99 USD
- Regular price
-
- Sale price
- $24.99 USD
- Unit price
- per
-0%
Shipping calculated at checkout.


Notified by email when this product becomes available
Latest Blogs
New project ideas and inspiration, expert advice and tips, and so much more!


